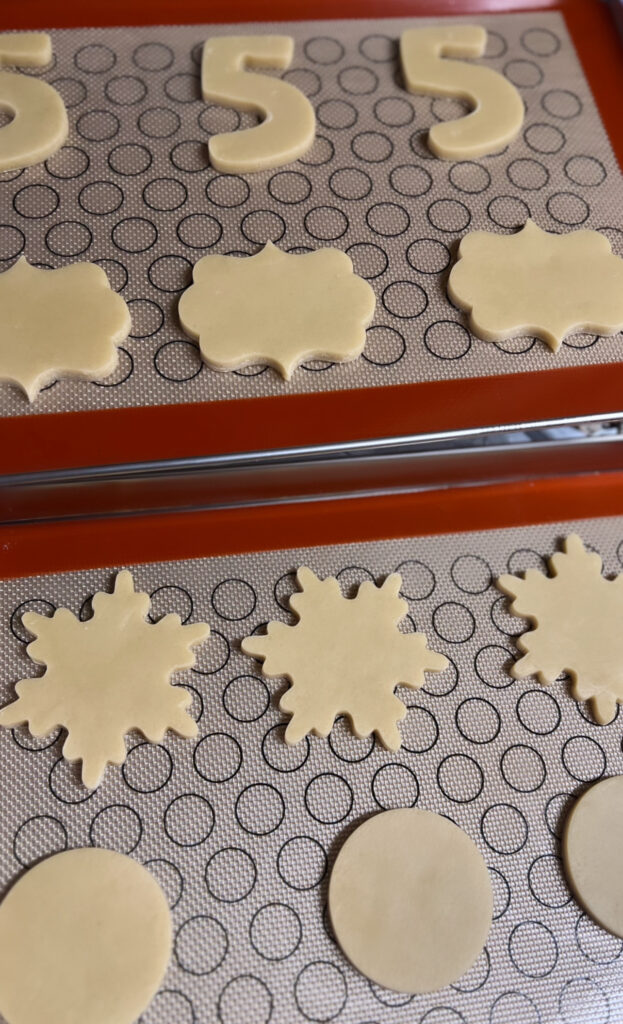
Perfect For Decorating With Royal Icing, This No Spread Sugar Cookie Recipe is easy to roll out, hold shape, and have simple ingredients.
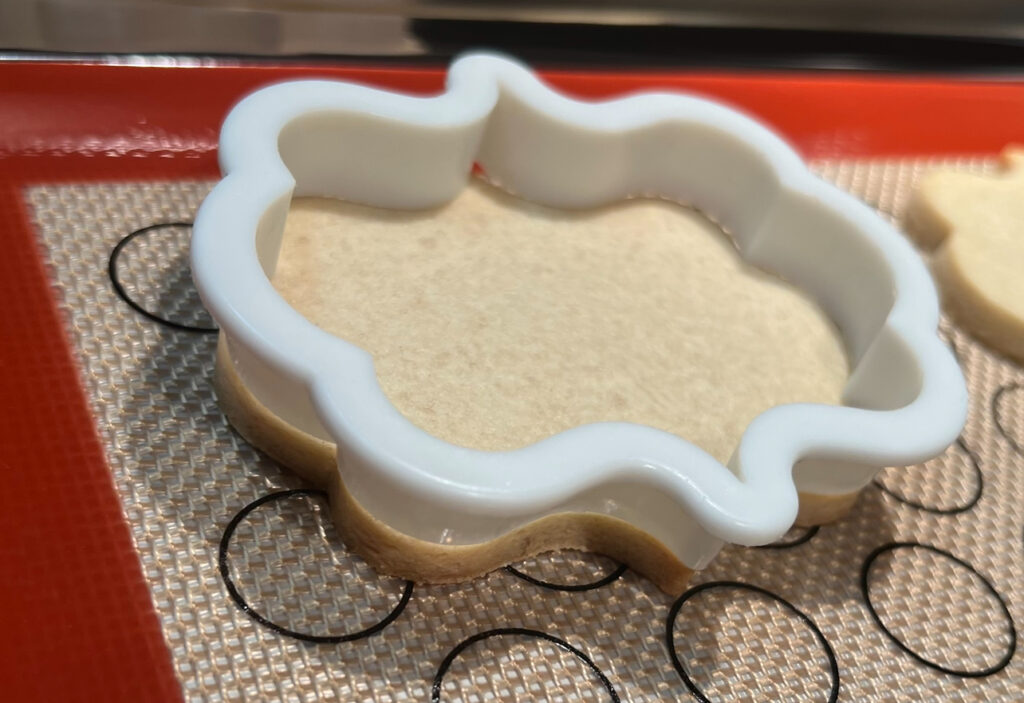
When I first started decorating cookies, spreading was such a struggle for me. I intended to make a lip-shaped cookie for Valentine’s Day, but it spread so much that it must have just taken on a shape of its own because it wasn’t lips.
While decorating cookies is a lot of fun, you need a good foundation to start with. Once I mastered the art of shaping cookies, I was able to elevate my cookie decoration game to new heights. I was so excited, and I’m even more excited to share it with you.
After following this recipe & tips your cookies will be ready for the FUN part!
How Can Cookies Be Decorated ?

This no spread sugar cookie recipe pairs well with royal icing or even buttercream. But I often use royal icing, which hardens while remaining soft to eat. Now, I wish I could claim that decorating is the easiest part, but after you learn baking the cookie shapes. Baking becomes much easier, whereas decorating takes time and experience.
Although I can provide the best recommendations, I cannot guarantee that you will become a pro overnight. But with my instructions, if you follow them precisely and don’t give up, you’ll be a pro in no time.
Tips For Obtaining The Best Cookie Shape
01. Butter Must be room temperature.
Butter plays a huge roll in decorate cookies. You was a soft butter than combines well NOT melted.
02. Firm Freezer Method
When rolling out cookie dough FREEZE for about 15 mins AND after you cut out shapes and place on pan FREEZE again for about 10 minutes then immediately place in oven.
03. After making cookie dough chill in freezer for 24 hrs or at least 2-3 hrs.
The colder the better chance of having a firm cookie. After making fresh cookie dough place in freezer before use. If needed to use immediately make sure all ingredients were properly combined & do not SKIP the freezer method.
04. Using High Quality Silicone Mats.
Silicon Mats prevent you from having to use butter, spray or parchment paper. While parshment paper is the best subject to silicon mats. Silicon Mats provide a sleek and neat bottom print for your cookie which helps hold cookie in place.
05. Cookies should be about 3/8 thickness. This is something you have to play with, you do not want the cookie thin & too thick.
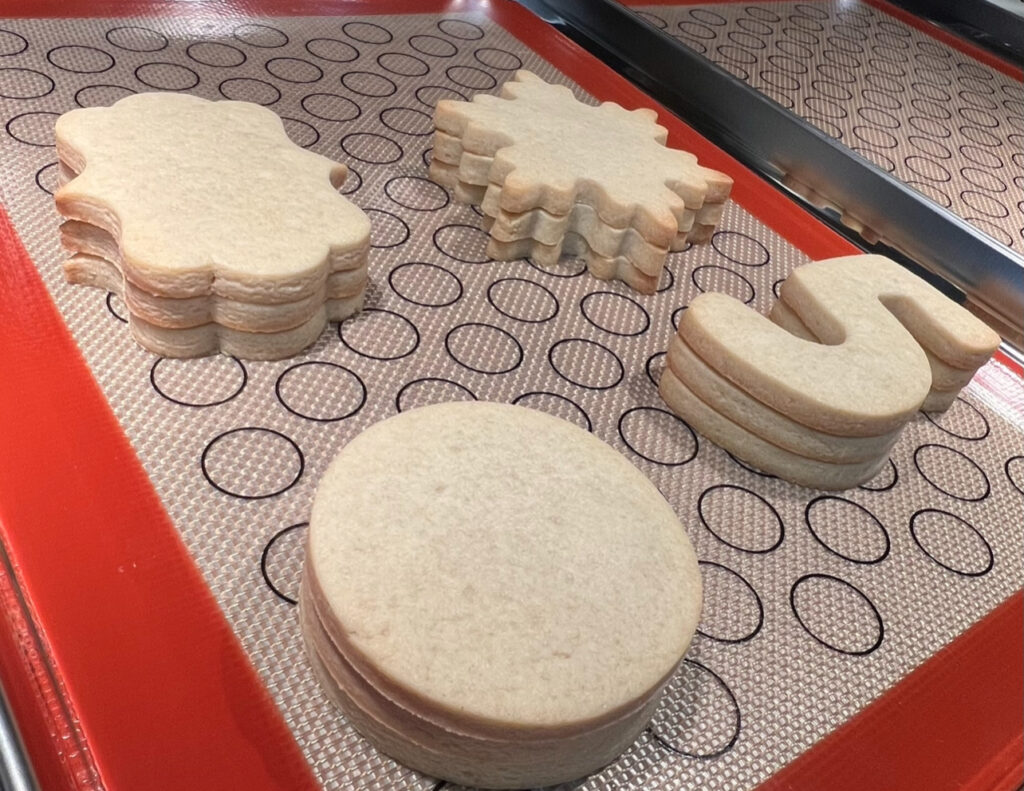
Rolling cookies out to the perfect thickness is a skill. You can easily roll your cookie dough too thin so until you are able to tell by eye, use a cookie cutter for reference and try to get 1/4 to 1/2 the cookie cutter shape depending on how thick the cutter is. You can also use my cookie photos for reference, this step really requires you to go with your smartest guest.
Baking Essentials To Help You Become A Pro In Cookie Decorating:
01. Cookie Pan With Silicone Mats:
The cookie sheets have mirror finish to reduce the risk of food sticking; smooth roll edge make these stainless steel baking sheets comfortable to hold and transfer.
02. Tipless Bags:
Tipless piping bags have a textured surface that provides better grip and a better feel for use, making it easy to squeeze any frosting out of the bag.
03. Dehydrator:
A dehydrator allows cookies to dry much quicker, it typically takes a cookie 24 to 32 hours to completely dry. It is very convenient for decorating. Instead of waiting 30mins to and hour for your first layer of icing to dry this machine allows you to continue your next process of decorating within 10 minutes.
04. Cookie Projector:
Cookie Projectors display an exact image, perfect for writing or drawing and exact image or word font on cookies.
No Spread Sugar Cookie Recipe
Ingredients
- 6 Cups Flour
- 2 Tsp Baking Powder
- 1 Tsp Salt
- 4 Sticks Butter Room temperature
- 2 Eggs
- 1 tbsp Vanilla Extract
Instructions
Wet Ingredients
- Start by Putting 4 sticks of Room Temperature butter into a bowl or mixer stand
- Add 2 cups of sugar
- Combine for 2 minutes on medium, scrap sides if needed
- Once creamy add 2 eggs one by one on Slow
- Add 1 tbsp of vanilla extract on slow
- Allow mixture to combine on slow for 2 minutes
Dry Ingredients
- Add 6 cups of flour to a bowl
- Add 2 tsp of baking powder
- Add 1 tsp of salt and mix
Combining all Ingredients
- Add flour mixture on slow , portion at a time to wet ingredients
- After all flour is added, allow to continue combining, while scraping sides and bottom if necessary
- Cookie Dough is done when it is not sticky. It shouldn't stick to your hands, you should be able to make a ball
- If cookie dough is still sticky , You may add more 1/8 cup of flour at a time.
Freezing Cookie Dough
- Freeze cookie dough for 2-3 hours or overnight for best results.
- After cookie dough is thaw out, roll out cookie dough 3/8 inch.
- Freeze dough for 10 minutes
- Remove dough from freezer & cut shapes with cutter. Place shapes on pan afterwards.
Bake Cookies
- After all shapes are on a pan, freeze for another 10 minutes. Set Oven to 350 F and bake cookies for 14 minutes. Cookies must be cold and firm before being bake
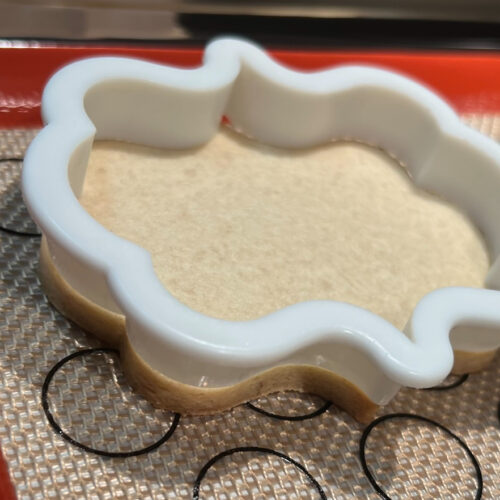
- Once baked allow to cool down. You may check shape size by using the same cookie cutter.

